
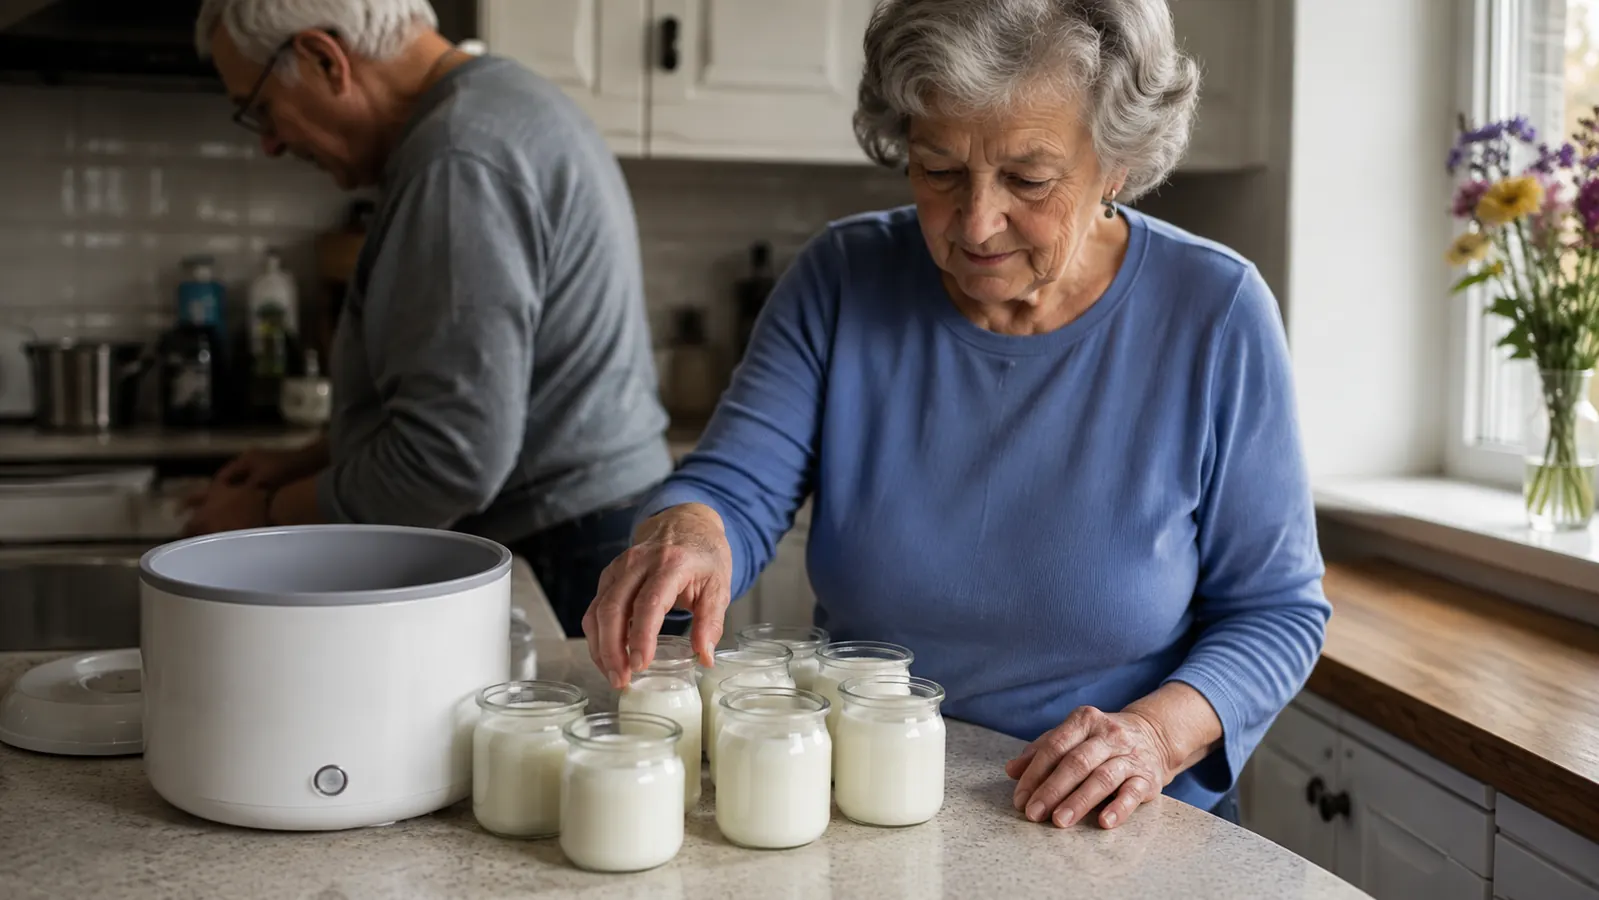
For a long time I bought yogurt the same way most people do, a plastic tub at a time, and I always came home a little unsettled by how long the ingredient list ran even on the tubs that call themselves natural. Added sugar, thickeners, flavor blends I couldn't quite place. What changed things for me was picking up a countertop yogurt maker, specifically the Euro Cuisine YM80, and working out a method that turns two quarts of milk into seven jars of plain yogurt with nothing added that I didn't put in myself. This is that method, written out in the order I actually follow it, from choosing the milk to saving a spoonful of the finished batch to start the next one.
A few things up front. This is a recipe and a method, not a health claim, I'm not going to tell you what any of this does inside your body because I don't know and I'm not going to guess. What I can walk you through is exactly how milk becomes yogurt in this machine, why the temperature at each stage matters, how the incubation time changes how tangy the batch turns out, and the handful of things that go wrong most often, runny batches, grainy texture, and yogurt that comes out sharper than you wanted.
I have about three feet of usable counter, so the machine spends most of the week tucked in a cabinet and only comes out on the evening I'm starting a new batch. If you're working with a small kitchen too, that's worth knowing going in, this isn't an appliance most people leave out permanently next to the coffee maker.
Buying Yogurt by the Tub and Not Loving the Label?
This method is built around a countertop yogurt maker like the Euro Cuisine YM80, seven small glass jars and one dial for time. If you don't have one yet, check today's price and current availability on Amazon before you start warming milk.
Amazon Check Today's Price on Amazon →Step 1: Choose Your Milk
The milk you start with matters more than almost anything else in this whole process. Whole milk gives you the thickest, creamiest set, plain and simple, because the fat and protein in it are what the yogurt structure is built from. Two percent milk still works fine and is what I keep in the fridge most weeks, but the batch comes out a touch thinner and looser than a whole milk batch made the same way. Skim milk will technically turn into yogurt too, but the result is thin enough that I don't bother with it unless I'm planning to strain the batch afterward anyway.
I don't use ultra-pasteurized milk if I can help it, the kind labeled UHT that doesn't need refrigeration until it's opened. It can still work, but I've had less consistent results with it than with regular pasteurized milk from the refrigerated case, and it's rarely worth the trade for the few extra weeks of shelf life. Plant-based milks, oat, almond, or soy, don't set the same way at all since they don't have the same proteins dairy milk does, so if you're working with one of those, expect a much looser result even after a long incubation, or plan to add a thickener made for that purpose. Two quarts of milk is what fills all seven jars in my machine with a little room to spare, so that's the amount I buy and measure out every time I start a batch.
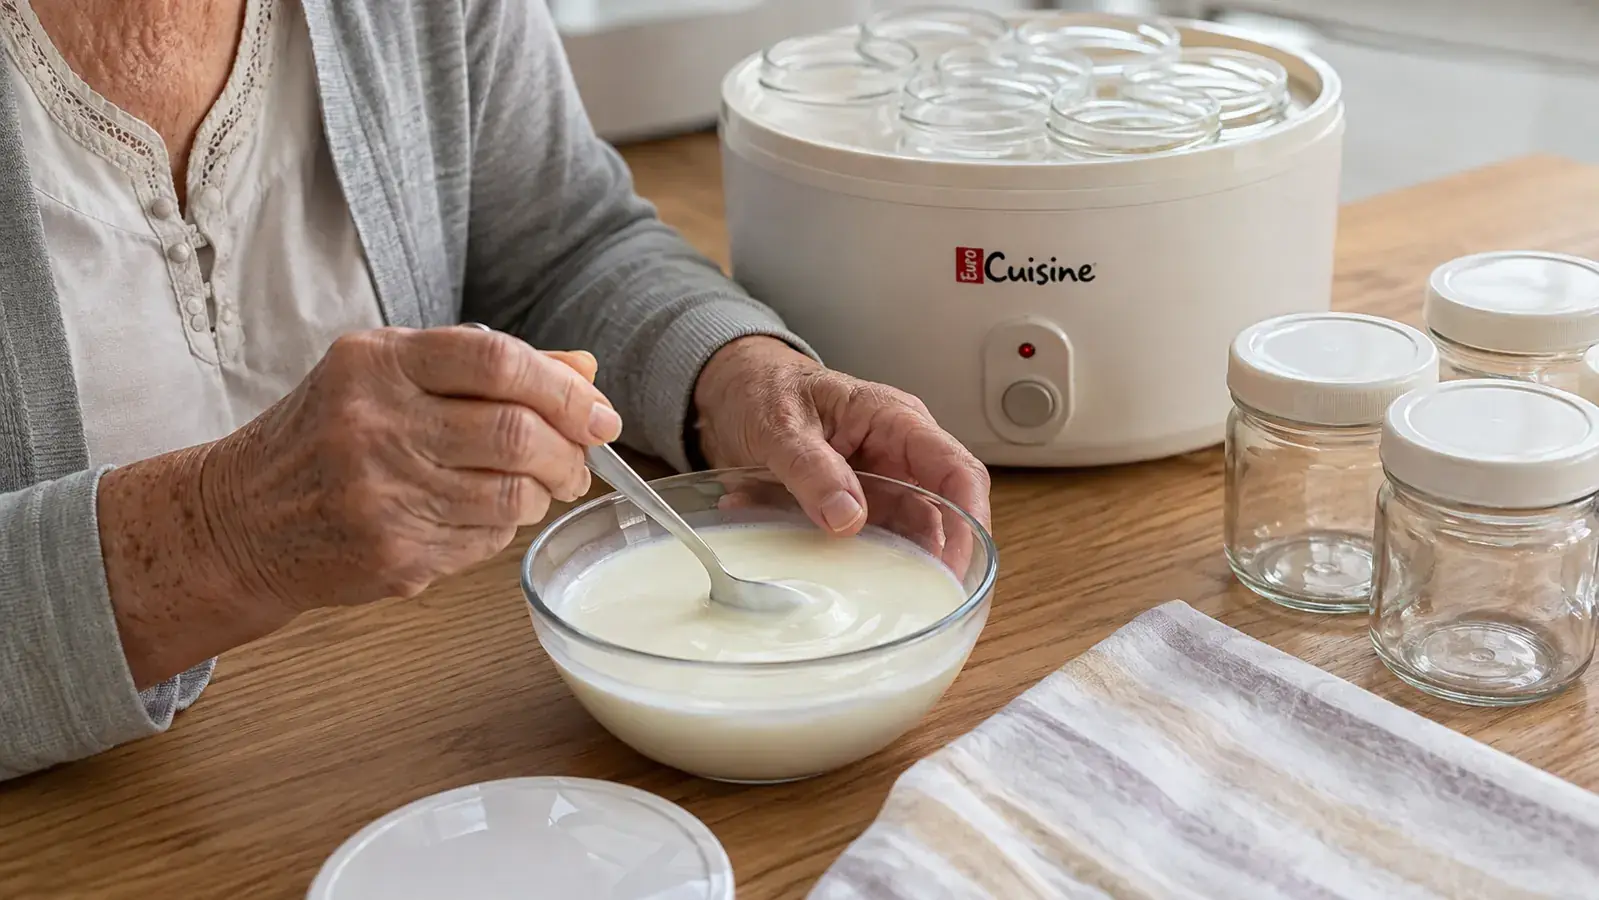
Step 2: Heat the Milk, Then Cool It Down
I pour the milk into a heavy pot and warm it on the stove until it's just below a simmer, small bubbles starting to form at the edge of the pot but nothing close to a rolling boil. This step matters for two reasons. It helps the milk set up thicker once it cultures, since heating changes the proteins in a way that gives the finished yogurt more structure, and it clears out whatever other bacteria might already be in the milk so the starter has a clean batch to work with instead of competing with something else. I stir it now and then so nothing scorches on the bottom, and I don't walk away from the stove during this part.
Once it's off the heat, the milk has to cool back down before the starter goes in, or the heat will kill the very cultures you're trying to grow. I let it sit until it feels like warm bathwater on the inside of my wrist, roughly 110 to 115 degrees if you want to use a thermometer, which I usually do until you've done this enough times to trust your wrist instead. This cooling step takes the longest of anything in the whole process, usually thirty to forty five minutes on my counter, and there's no good way to rush it without risking a batch that never sets.
Step 3: Pick and Measure Your Starter
For a starter, I use a couple spoonfuls of plain yogurt from my last batch, or when I'm starting over, a small container of plain store yogurt with live and active cultures listed on the label. That phrase matters, some tubs on the shelf have been heat treated after culturing and won't have any living cultures left to do the work, so I check the label every time I buy a fresh starter rather than assuming. I look for plain, unsweetened, and as few ingredients as possible, ideally just milk and cultures with nothing else added.
Two to three tablespoons of starter per quart of milk is what's worked consistently for me, so for a full two quart batch I whisk in about a quarter cup total. I always whisk the starter into a small amount of the cooled milk first, then stir that mixture back into the rest, rather than dropping cold starter straight into the whole pot, which mixes it more evenly and keeps any one spot from being over or under seeded.
Step 4: Fill the Jars and Set the Incubation Time
Once the starter is stirred in, I ladle the mixture into the seven glass jars that came with the yogurt maker, filling each one to just below the rim, and set the lids on loosely rather than sealing them tight. The jars go into the machine, the lid goes on top, and this is where the incubation timer takes over. My machine has one fixed heat setting with a manual timer, and I've read some newer models add an adjustable dial, but the principle is the same either way, the machine holds a steady warm temperature while the cultures do their work over several hours. I also make sure the jars are seated evenly on the base before I close the lid, since a jar sitting slightly tilted can end up a little shallower on one side than the others by the time the timer runs out.
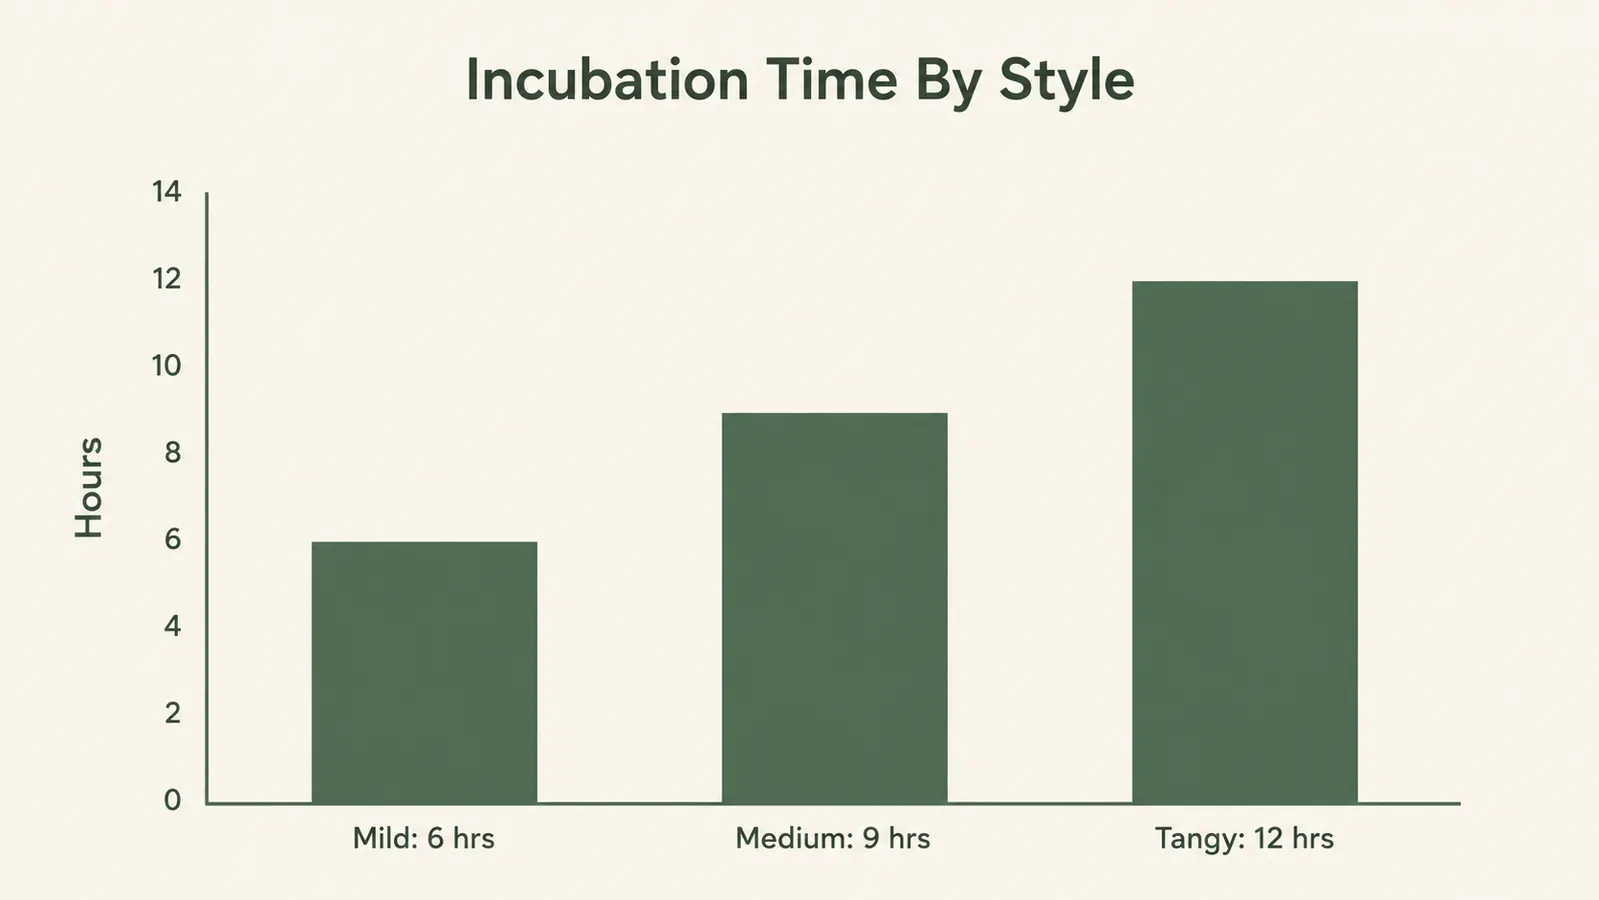
How long you leave it changes the flavor more than any other single choice you'll make. A shorter run, around six hours, gives a mild batch that's barely tangy, closer to sweetened milk than what most people picture as yogurt. Nine hours is where I land most weeks, thick enough to hold a spoon standing up for a second and tangy without being sharp. Push it past twelve hours and the batch gets noticeably more sour, which some people prefer and others find too much, so the first few batches are really about figuring out where your own taste falls on that range.

Step 5: Chill Before You Eat It
When the timer's done, the yogurt is set but still warm, and it needs time in the refrigerator before it's really finished. I move the jars straight from the machine to the fridge and let them sit for at least four hours, though overnight is what I do most weeks since I usually start a batch after dinner. Chilling firms up the set further and stops the culturing process where you left it, so a batch you pull at nine hours and chill stays close to a nine hour flavor instead of continuing to get tangier sitting on the counter.
If you taste a jar warm straight out of the machine, don't judge the final texture off that, warm yogurt is always looser and softer than it will be once it's cold. I learned that the hard way on an early batch I nearly wrote off as a failure before it had even had a chance to firm up in the fridge.
Step 6: Strain for a Thicker Style, and Save Some for Your Next Batch
If you want something closer to a thick Greek-style yogurt, straining is the easy fix and it doesn't require any special equipment. I line a mesh strainer with a coffee filter or a folded piece of cheesecloth, set it over a bowl, and let a jar drain in the fridge for one to three hours depending on how thick I want it. The liquid that drains off is whey, and I've started saving it for baking or soup instead of pouring it down the drain, though that's a separate habit and not part of the yogurt itself.
Before you eat through the whole batch, set aside two or three tablespoons in a small labeled jar to use as your starter next time. I keep mine separate from the jars we're actually eating from, in the fridge door, so I don't accidentally spoon it onto cereal by mistake, which I did once early on. A homemade starter will carry you through several more batches, but in my experience it weakens after about four or five generations, the set gets looser and the tang fades, and when that happens I just buy a fresh small container of plain store yogurt and start the cycle over.
What Else Helps
A few things go wrong often enough that they're worth naming plainly. Runny yogurt almost always traces back to one of three causes, milk that didn't get warm enough during the heating step, a starter that was too weak or too old, or an incubation time that was cut short. If it's the starter, a fresh small container of plain store yogurt with live and active cultures usually solves it within one batch, which is a cheaper fix than troubleshooting the machine itself. Grainy or curdled texture usually means the milk got too hot, at or past a full boil, or cooled too fast with the starter stirred in too vigorously instead of gently. And yogurt that comes out sharper or more sour than you'd like almost always just means it ran too long, or the machine's environment was a touch warmer than usual, so pulling the timer back by an hour or two on the next batch is the easiest fix.
None of these are complicated once you know what to look for, and every one of them is fixable on the very next batch rather than something you have to live with. I go into more detail on how this particular machine has performed for me over six months of near-weekly batches in my long-term Euro Cuisine yogurt maker review, and if you're weighing a dedicated machine against using the yogurt setting on a multi-cooker instead, I lay that comparison out in Euro Cuisine yogurt maker versus a multi-cooker's yogurt setting.
The temperature does the real work. My job is just staying out of its way at the right moments, warm enough, cool enough, and then patient.
Ready to Turn Two Quarts of Milk Into a Week of Yogurt You Control?
Seven jars, one starter, and a method that gets more consistent every time you run it. Check today's price on the Euro Cuisine yogurt maker and current availability on Amazon.
Amazon Check Today's Price on Amazon →