
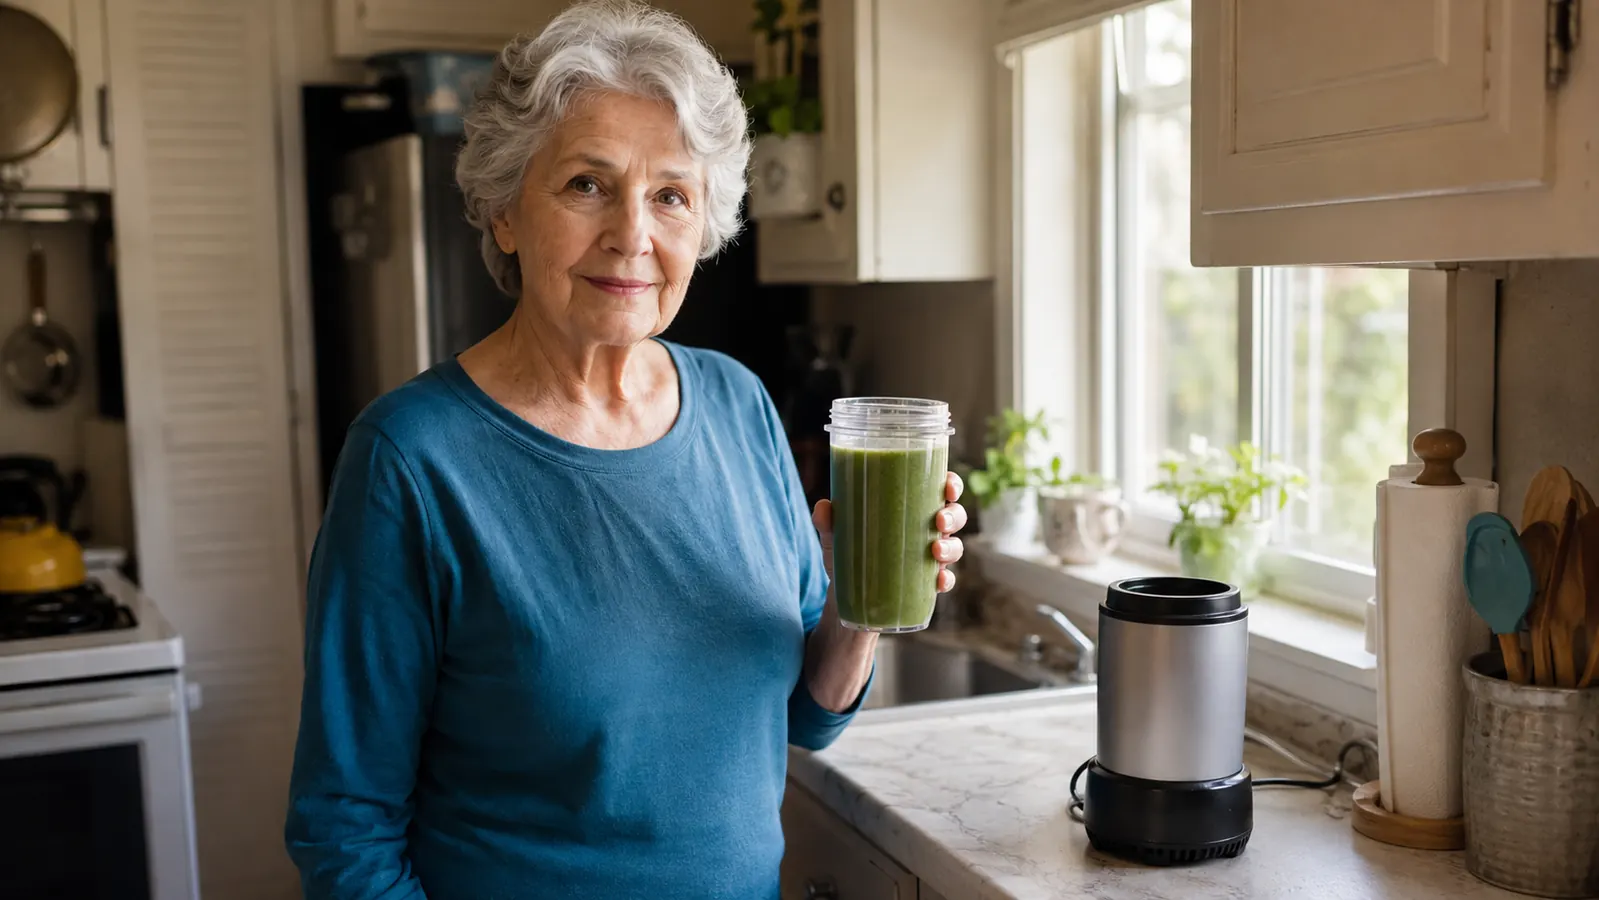
For years I made smoothies in a big pitcher blender that took up half of my three feet of counter and needed two hands and most of my patience just to get the lid locked on straight. By the time I rinsed the pitcher, the base, the lid, the seal ring, and that little rubber gasket that always slid down the drain, I had talked myself out of ever making another one. My hands do not have the grip they used to, and a blender with eight parts is not a small kitchen tool. It is a project I did not have the energy for most mornings.
My husband and I are not big smoothie people the way our grandkids are, but I wanted a way to get some spinach, half a banana, and a handful of frozen berries into a glass most mornings without turning my counter into a construction site. The tool that finally made that easy is a NutriBullet Personal Blender, a single-cup machine with a 600-watt motor and one 24-ounce cup that screws onto the blade instead of a pitcher that has to be assembled from scratch every time. This is the method I settled into after about a year of mornings with it, five steps, always in the same order, and it is the difference between a smoothie habit that actually sticks and one that dies out after two weeks.
Tired of Washing Eight Parts for One Smoothie?
A big pitcher blender was never really built for a single serving, which is probably why it keeps ending up back in the cabinet. The NutriBullet Personal Blender is the one-cup, two-piece machine I use for the method below. See today's price and current availability on Amazon.
Amazon Check Today's Price on Amazon →Step 1: Build Your Ratio Before You Turn Anything On
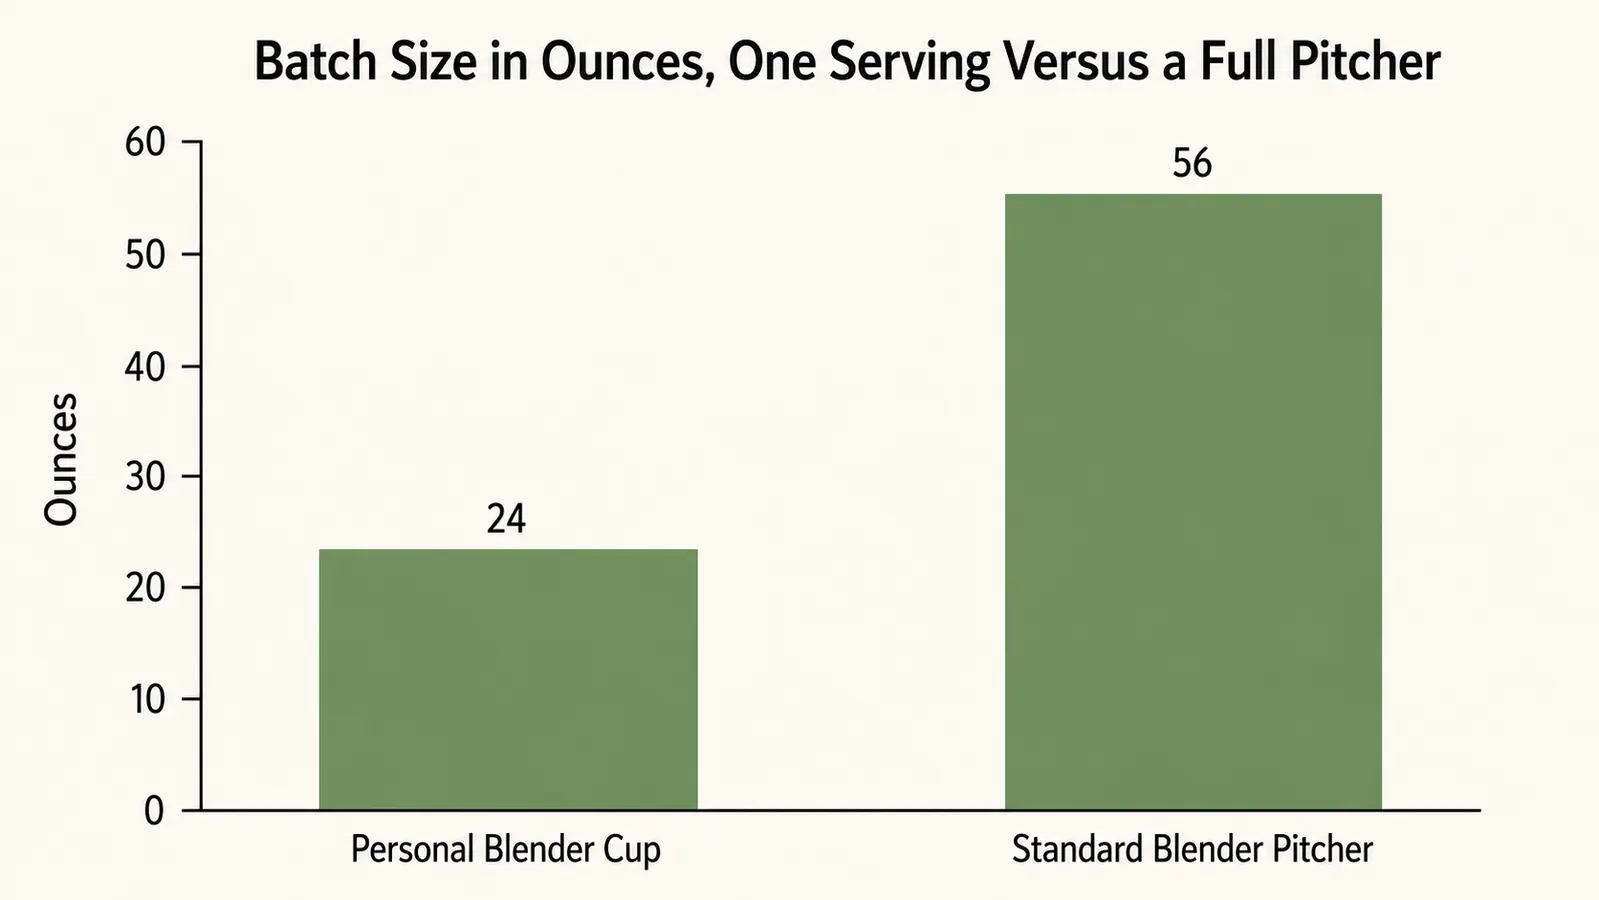
The single biggest thing that changed my smoothies was deciding on a ratio before I ever touched the blender, instead of tossing things in and hoping for the best. For one serving in the 24-ounce cup, I use about a cup of liquid, a large handful of leafy greens like spinach or kale, half a piece of soft fruit like a banana or a pear, and a small handful of something frozen, usually berries. That ratio leaves enough room in the cup for everything to actually move while it blends, instead of packing it so full that the blade just spins in place.
I keep the liquid simple, usually water, unsweetened milk of some kind, or leftover brewed tea that has cooled off. I do not measure with cups and spoons anymore, I just fill to a line I have come to recognize on the side of the cup, but when I was starting out I did measure, and I would suggest doing the same for your first week or two. Once you know your ratio, you stop guessing every morning, and that is really the whole trick to making this a habit instead of a once-in-a-while project.
Some mornings it is spinach, other mornings it is whatever is left in the crisper drawer, a few leaves of kale or a handful of baby chard. I do not worry about getting the greens exactly right every time. What matters more is keeping that same rough ratio of liquid to greens to fruit, because once you know it by feel, you can swap almost anything in and the result still comes out drinkable instead of too thick or too watery.
Step 2: Load the Cup in the Same Order Every Time
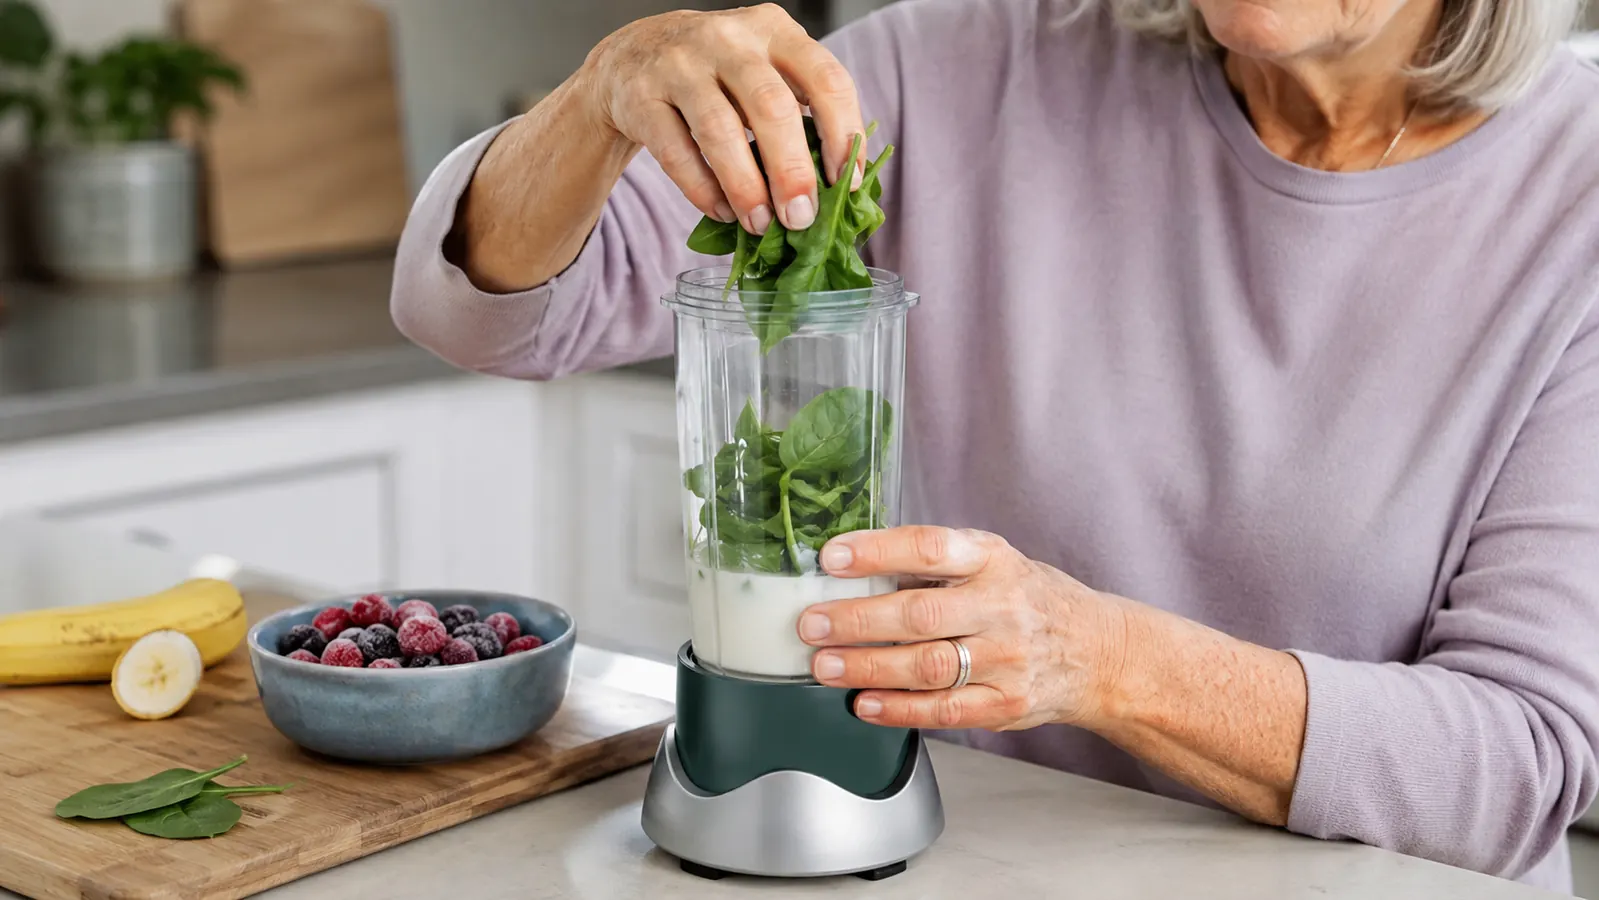
Liquid goes in first, every time, before anything solid. Then the leafy greens, then the softer fruit, and the frozen fruit goes in last, right on top, closest to the blade. I did not understand why the order mattered until I tried it backward one morning out of laziness and ended up with frozen berries stuck above the blade with nothing underneath to help pull them down. Liquid at the bottom gives the blade something to grab right away, and it keeps everything else moving instead of sitting in a stubborn clump above it.
Cut anything larger than a bite into smaller pieces before it goes in, since the cup opening on a personal blender is narrower than a full-size pitcher. A whole banana half goes in fine, but a big wedge of frozen mango sometimes needs to be broken up first or it just sits wedged against the side. This step takes me maybe thirty seconds longer than dumping everything in at once, but it saves me from stopping halfway through to shake the cup and start over.
I also like that the whole thing is light enough to move without thinking about it. The base is small enough that I keep it out on the counter rather than lifting it down from a cabinet shelf every morning, and it only takes up about the same footprint as a coffee mug and a saucer side by side. On three feet of counter, that matters more than people realize until they try to fit a full-size blender pitcher next to a toaster and a dish rack.
Step 3: Screw the Blade On Tight and Blend in Short Bursts
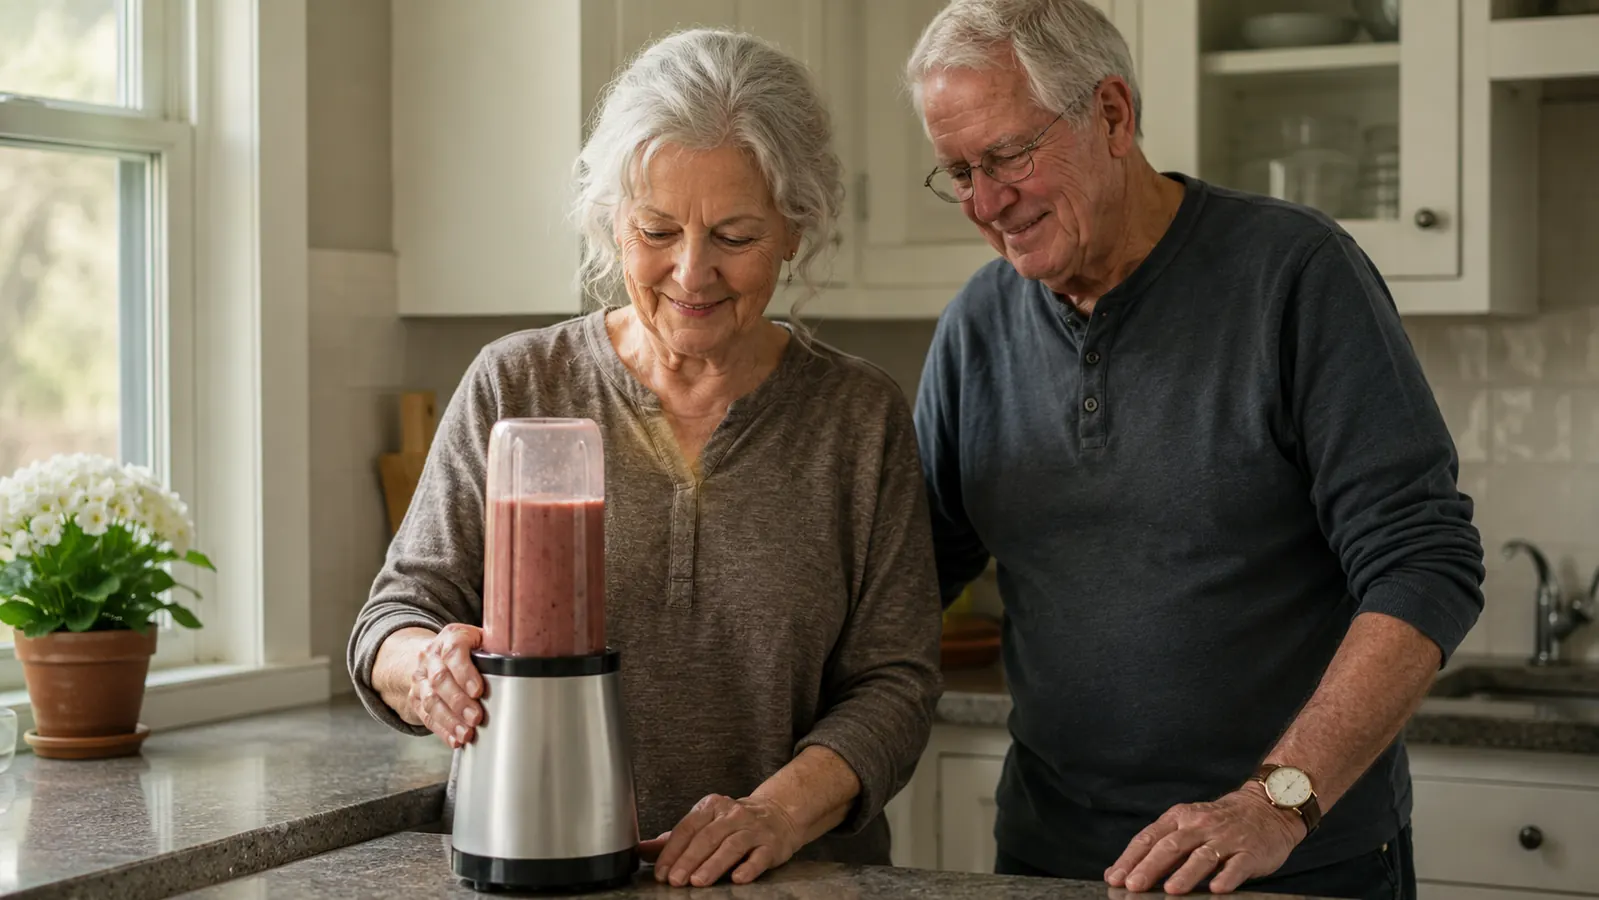
The extractor blade threads onto the cup like a jar lid, and it needs to be snug, not just resting there. I give it a firm quarter turn past where it stops feeling loose, then flip the whole thing upside down onto the motor base. If the blade is not tight enough, the whole cup will wobble or leak once it starts spinning, and I learned that the hard way with a counter full of spinach water more than once.
I blend in short bursts of about ten to fifteen seconds rather than holding it down continuously, pausing to let things settle back toward the blade in between. A 600-watt motor is not weak, but frozen fruit and leafy greens together still need a little patience, especially in a small personal blender. If I hear the motor start to strain or the pitch of the sound change, I stop, give the cup a light shake, and start again rather than forcing it to push through a jam.
It is not silent, no motor that can push through frozen fruit is going to be, but it is nowhere near as loud as the old pitcher blender was. I can run it first thing in the morning without waking my husband up in the next room, and it is done in well under a minute, so the noise does not linger the way it used to.
Step 4: Taste, Adjust, and Pour Before You Walk Away
Once it looks blended, I twist it off the base and give it a look and a taste before I call it done. If it is too thick to pour easily, I add a small splash more liquid and give it one more short burst rather than trying to stir it by hand, which never really works once the greens have shredded. If it tastes too much like spinach and not enough like anything else, another quarter of a banana usually fixes that faster than reaching for sweetener would.
I pour it straight from the cup into a glass rather than trying to transfer it into something else first, since the cup is really the whole point of a personal blender. One container to load, one container to drink from, and nothing extra dirtied in between. This is the step where a pitcher blender always lost me in the past, because pouring a thick smoothie out of a wide pitcher without half of it running down the outside takes more coordination than I want to deal with before I have had my coffee.
My husband likes his smoothies thinner than I do, so some mornings I make his separately with an extra splash of liquid rather than trying to split one thick batch two ways. Making two single servings back to back takes maybe three extra minutes total, and each one still comes out the way he or I actually want it, which was never really possible with one big pitcher meant to be split evenly between us.
Step 5: Rinse It Out Before You Sit Down
This is the step that actually determines whether I keep doing this or quietly give up after a couple of weeks, and it has to happen right away, not after breakfast. A smoothie cup rinsed within a minute or two of pouring wipes clean with a quick pass of the bottle brush and warm water. Let it sit for even twenty minutes and the greens start to dry onto the sides, and suddenly a thirty-second rinse turns into real scrubbing.
The whole cleanup is two pieces, the cup and the blade, not the eight I used to deal with on my old pitcher blender. I rinse both by hand rather than the dishwasher, mostly out of habit and because it takes about the same amount of time either way for something this small. Whatever you decide, do it before you sit down with your glass, because once you are sitting down with a smoothie in hand, that cup is not getting rinsed for a while.
I have had this particular blender going on a year now, used most mornings, and the motor still sounds the same as it did the first week. The only part that shows any wear at all is a faint scuff on the bottom of the cup from setting it down on the counter, nothing that affects how it runs. For something that gets used almost daily, that has mattered more to me than any single feature it has.
What Else Helps
A little bit of freezer prep on the weekend makes weekday mornings even easier. I portion out spinach and berries into small bags a few at a time, so I am not standing in front of the freezer digging through bags every single morning. I also keep a banana or two going soft on the counter on purpose, since a slightly overripe banana blends smoother than a firm one. None of this is complicated, it is just the kind of small habit that makes a five-minute task feel like nothing at all instead of one more thing on the list.
I also keep the cup, the blade, and a spare cup on a small tray next to the machine rather than putting them away in a cabinet after every use. It sounds like a small thing, but on a counter this size, having everything already staged means the whole process from pulling ingredients out of the fridge to rinsing the cup takes under five minutes start to finish, and that is really what keeps me doing it most mornings instead of only on the days I feel ambitious.
I write about how this particular machine has held up after a year of near-daily use in my long-term review of the NutriBullet Personal Blender, and if you are trying to decide between this one and a similar compact machine, I compare the two side by side in NutriBullet Personal Blender vs Magic Bullet Blender. Between the two, you will have the fuller picture beyond just this method, but the five steps above are the part that actually gets a smoothie into your glass most mornings.
The trouble was never smoothies. The trouble was a blender with too many parts and not enough patience left in me to wash them.
Ready to Make This Your Morning Routine?
Five steps, one cup, two pieces to rinse afterward. If your old blender has been sitting unused because of the cleanup alone, see today's price on the NutriBullet Personal Blender and current availability on Amazon.
Amazon Check Today's Price on Amazon →