
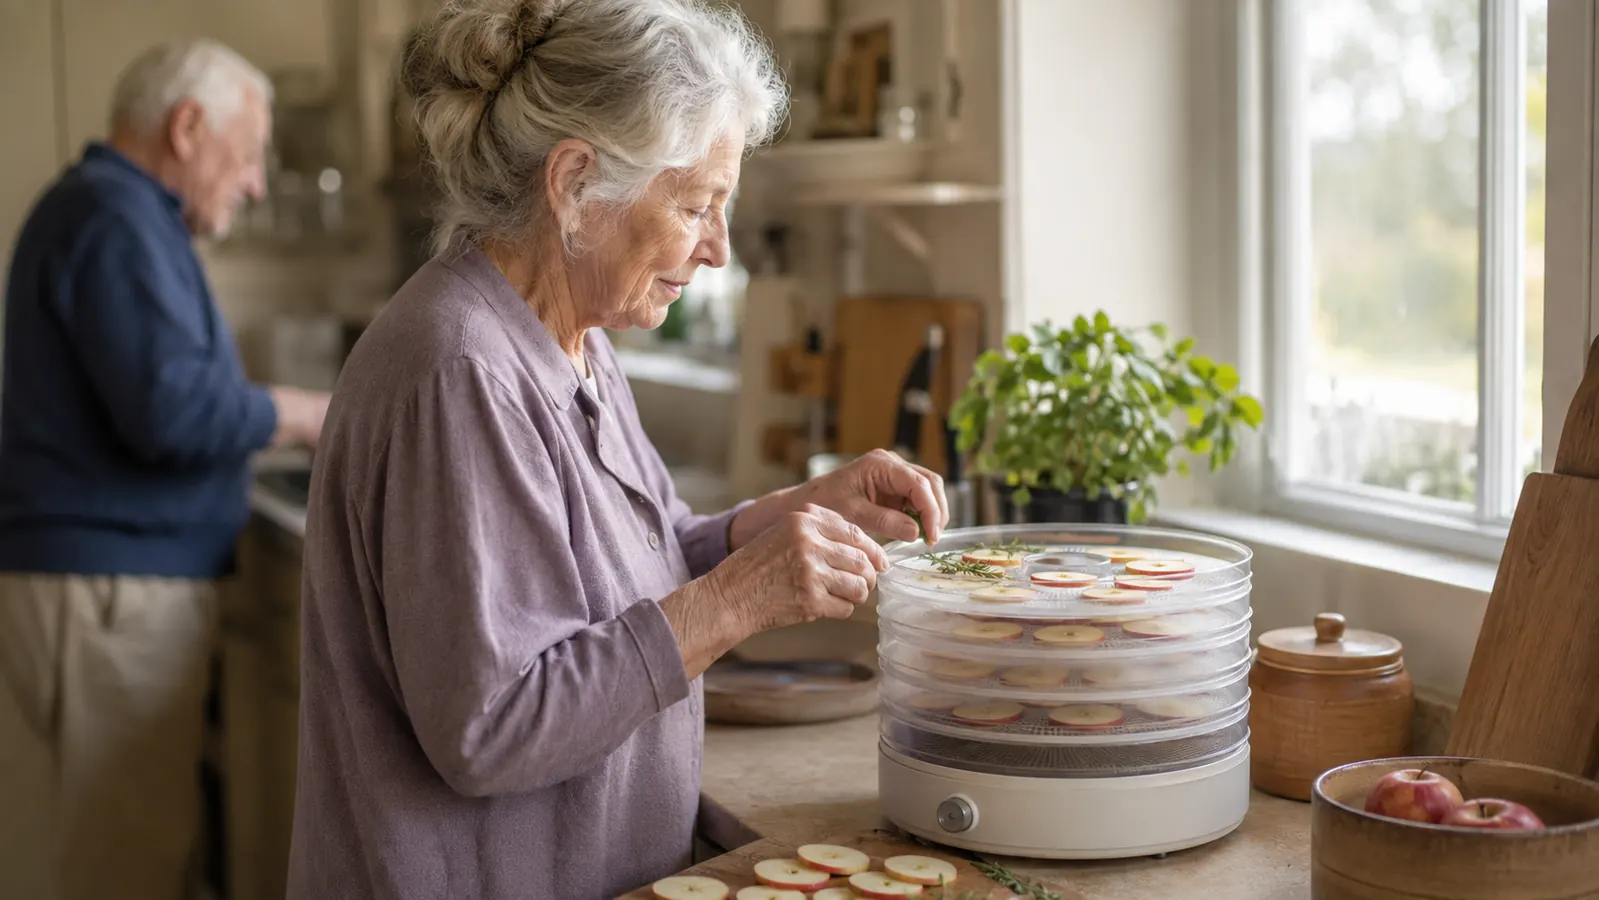
Every August I end up with more fruit and garden herbs than my husband and I can eat before it turns, mint growing faster than I can pick it, apples from a neighbor's tree piling up on the counter, and by the second week I am either freezing things I would rather not freeze or watching good food go soft in the crisper drawer. Dehydrating fixed that for me, but the first few batches I ran were a mess of guesswork, browned apple slices, herbs I let go too long until they turned to dust, and one tray of pear slices that never quite got past leathery and started to mold in the jar a week later. What follows is the actual method I settled into on my Presto Dehydro Electric Food Dehydrator, the slicing, the pre-treating, the loading, and the part almost nobody explains up front, conditioning the fruit before you ever seal a jar.
You do not need a fancy machine or a lot of counter space to do this well. Mine is a round, stacked dehydrator with six mesh trays and a fan built into the lid, no thermostat, one fixed heat setting, which sounded like a limitation until I realized most of what changes your results is slicing, spacing, and timing, not a dial. If your dehydrator does have an adjustable temperature, the steps below still apply, just use the setting your machine recommends wherever I mention mine running on its one fixed heat.
Tired of Watching Garden Fruit Go Soft Before You Use It?
This method assumes you're running a home dehydrator like the Presto Dehydro Electric Food Dehydrator, the stacked-tray machine I use for every batch below. If you don't have one yet, see today's price and current availability on Amazon before you start slicing.
Amazon Check Today's Price on Amazon →Step 1: Wash, Slice, and Match Thickness to the Food
Wash your fruit and pat it mostly dry, then slice it about a quarter inch thick, roughly the width of a pencil. That thickness is not an exact science, but it is the range where most fruit dries evenly without the outer edge turning brittle before the center is anywhere close to done. I use a mandoline slicer on tomato and apple days specifically, because getting every slice the same thickness by hand with a paring knife is harder than it sounds, and uneven slices mean some pieces finish hours before others. Core apples and pears first with a simple corer, then slice into rounds or wedges, whichever fits your trays better.
Herbs get handled differently. I strip leaves off woody stems like rosemary and thyme rather than laying whole sprigs down in a tangle, since a bundled clump of stems traps moisture in the middle and dries unevenly no matter how long you leave it running. Softer herbs like mint and basil I leave as small sprigs with just the thickest stem removed. Either way, herbs go on the tray in a single, loose layer with the leaves not overlapping, which matters more for herbs than for almost anything else you'll dry, since a leaf sitting under another leaf can still be damp long after the rest of the tray is finished.
Step 2: Pre-treat Apples and Pears So They Don't Brown
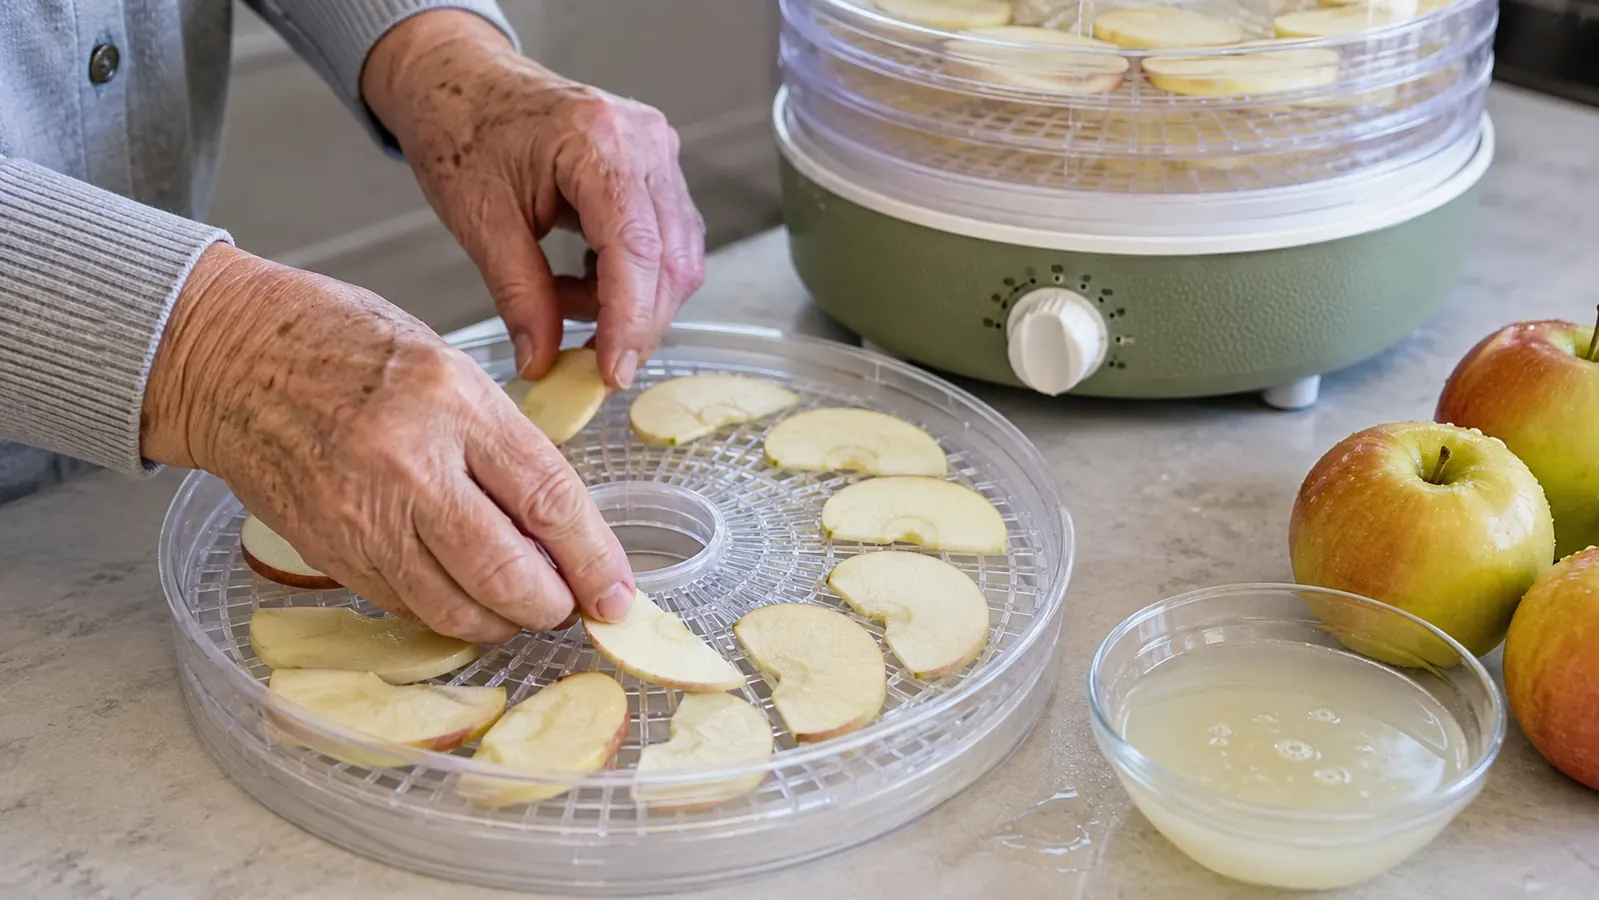
Apples and pears both oxidize the second the flesh hits air, the same reaction that turns a cut apple brown on your countertop, and a dehydrator running for six or seven hours gives that reaction plenty of time to work before the slice ever dries through. I stir together a quarter cup of lemon juice with a cup of water in a shallow bowl and dip the slices in it for five to ten minutes right after slicing, then lift them out and let the excess drip off before they go on the tray. You do not need to pat them fully dry, a light coating of the lemon water is fine and does not add meaningfully to drying time.
Not everything needs this step. Berries, citrus, and herbs never brown the way apples and pears do, so skip the dip entirely for those and go straight to loading the tray. Bananas will darken a little without a dip, which does not bother me, but a quick lemon water pass keeps them paler if that matters to you. If you don't have lemon juice on hand, a spoonful of ascorbic acid powder stirred into water works the same way and some people find it leaves less of a citrus taste behind, though I have always just used what's already in my refrigerator.
Step 3: Load the Trays Without Crowding
Lay each piece flat in a single layer with a little space between pieces, not stacked and not touching edge to edge if you can help it. Crowded trays trap moist air right where the food is trying to release it, which is how you end up with slices that feel done on the outside and are still damp in the middle. It takes a little more patience to spread things out properly, especially on a big tomato or apple day, but it is the single easiest fix for uneven batches once you start paying attention to it.
On a stacked dehydrator like mine, the fan and motor sit in the lid and blow warm air straight down through the stack, so the top tray gets the strongest, most even airflow and the bottom tray gets whatever is left by the time it works its way down. I rotate the trays top to bottom and give the whole stack a quarter turn about halfway through a long run, which evens things out considerably. If your machine has a side-mounted fan instead, the unevenness runs front to back rather than top to bottom, but the fix is the same, check partway through and rotate whatever tray looks like it's lagging behind the others.
Step 4: Run It, and Treat Herbs Differently Than Fruit
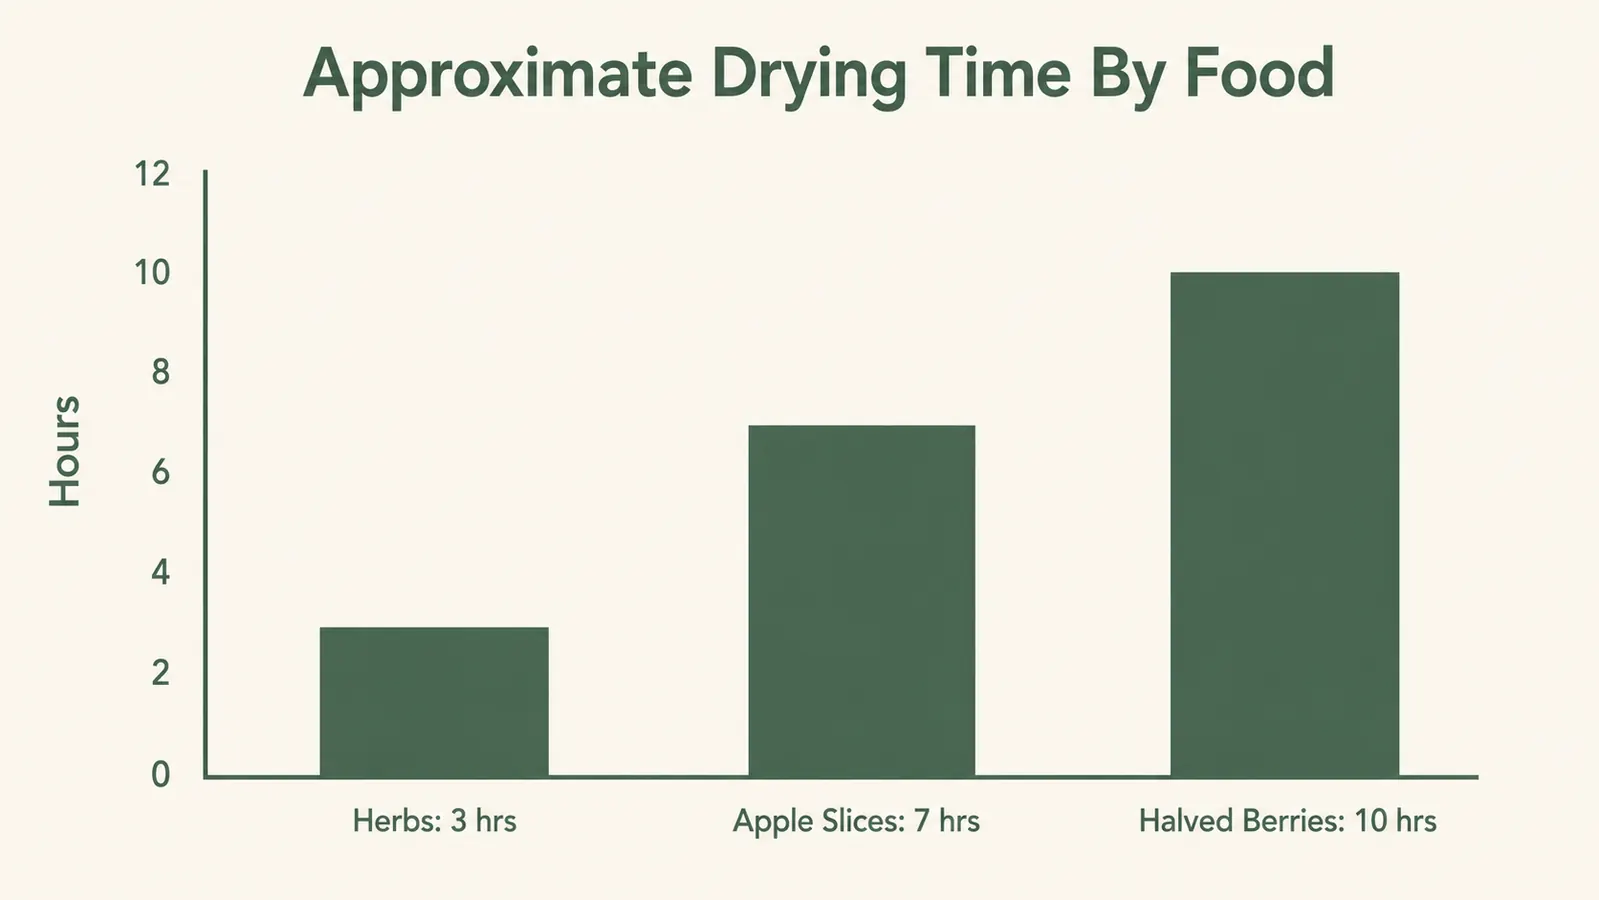
Herbs dry fast, usually two to four hours depending on the leaf. Mint and basil are done closer to the two-hour mark, while thicker leaves like sage or oregano can run closer to four. I put herb trays on top of the stack, closest to the fan, since that gentle, even airflow suits delicate leaves better than the stronger heat lower down, and I start checking at the two-hour mark rather than walking away and trusting a set time. Herbs go from perfectly dry to over-dried and flavorless faster than fruit does, so this is one place where checking early costs you nothing and skipping the check can cost you the whole batch.
Fruit takes longer and is more forgiving. Apple and pear slices run about six to eight hours for me, banana slices land in roughly the same range, and berries or grapes cut in half usually need eight to twelve hours since the skin slows moisture from escaping. Because my dehydrator has no thermostat to fall back on, I compensate with attention instead of a dial, checking every couple of hours on a new food I haven't dried before and writing down what worked once I find a time that's reliable for my kitchen. If you're doing a very first batch of anything, plan to be home to check it rather than running it unattended overnight.

Step 5: Test for Doneness by Feel, Not the Clock
Pull a piece off the tray and let it sit for a minute or two before you judge it. Warm fruit almost always feels softer and more pliable than it actually is, and testing a piece straight off a hot tray is the single most common reason people think a batch is done when it still has hours left. Once it's cooled, bend it. Fruit that's ready feels leathery, not wet, and it bends without snapping and without any sticky or moist spot showing when you tear a piece in half. Apple slices should feel a little springy and pliable, pears usually finish a touch more leathery, and bananas can go anywhere from pliable to a bit crisp depending on how you like them.
Herbs are the opposite of fruit here, they should be dry enough to crumble between your fingers, not leathery at all. A leaf that still folds instead of cracking needs more time, even if it looks dry from a glance. I usually crush one leaf between two fingers right on the tray, and if it turns to small flakes with no give left in it, the whole tray is ready to come off.
Step 6: Cool, Condition, and Store Before You Call It Done
Let everything cool completely on the trays before you put it anywhere near a jar. Warm fruit still gives off moisture as it cools, and sealing it while it's warm just traps that moisture right back in with it. Once it's fully cool, pack the fruit loosely into a wide glass jar, not pressed down tight, and seal it. Set that jar on the counter out of direct sun for seven to ten days, and give it a shake once a day to redistribute any moisture that's still unevenly spread through the batch. This step is called conditioning, and it's the part I skipped on my very first attempts, which is exactly how that tray of pear slices ended up moldy a week later.
Check the inside of the jar each day during that week. If you see any fogging or condensation on the glass, that batch was not fully dry when you jarred it, and it needs to go back onto the trays for another hour or two before you try conditioning it again. Once you make it through the full conditioning period with a clear, dry jar, the fruit or herbs are genuinely ready for long-term storage. Transfer them into airtight jars, label each one with the food and the date, and keep them in a cool, dark pantry rather than anywhere near a stove or a sunny windowsill.
What Else Helps
I want to be straightforward about what dehydrating actually does and doesn't do. It removes the moisture that spoilage depends on, which is why a dried tomato slice lasts months in a jar instead of days in the fridge, and it gives me somewhere useful to put a garden's worth of extra fruit and herbs instead of watching it go to waste. I'm not going to claim it locks in every vitamin the fresh version had, because I honestly don't know that and I'd rather not promise something I can't back up. What I can tell you is that a jar of my own dried apples and mint has never once gone bad on the shelf, and that alone has been worth the learning curve.
A little weekend prep makes weekday batches easier too. I slice ahead when I have extra fruit coming in faster than I can dry it, and I keep the lemon water dip and a shallow bowl set out on the counter on apple and pear days so pre-treating doesn't feel like an extra step I have to think about. I also freeze anything I can't get to the dehydrator fast enough, since frozen fruit still dehydrates fine later, it just tends to run a little wetter and needs an extra hour or so compared to fresh. I go into more detail on how this particular machine has held up after six months of near-weekly use in my long-term Presto Dehydro review, and if you're deciding between a fixed-heat machine like mine and one with an adjustable dial, I lay that comparison out in Presto Dehydro versus a Cosori-style dial dehydrator.
Dehydrating never fixed my garden's timing. It just gave the extra somewhere to go besides the trash.
Ready to Turn Extra Fruit and Herbs Into Jars That Actually Keep?
Six steps, one machine, and jars that last months instead of produce that goes soft in a week. Check today's price on the Presto Dehydro Electric Food Dehydrator and current availability on Amazon.
Amazon Check Today's Price on Amazon →